Potentiometer

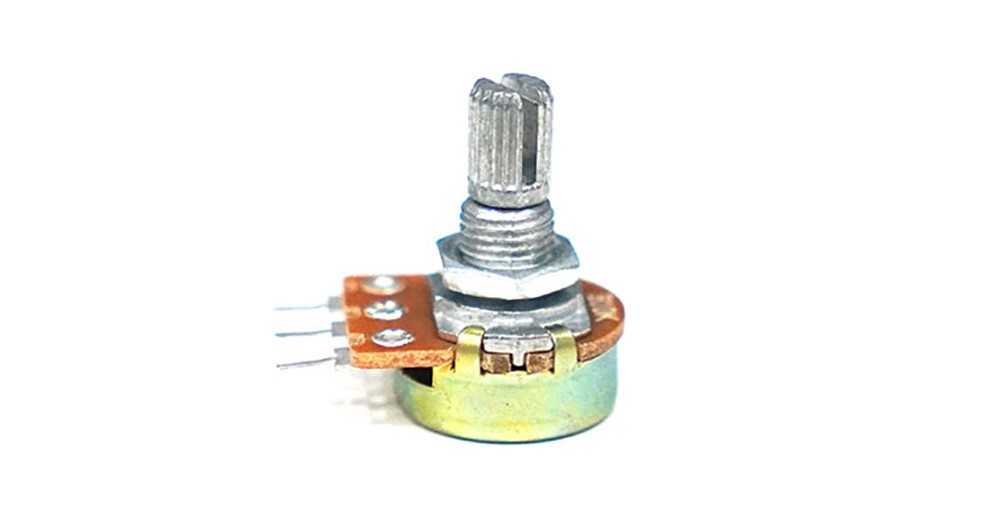
This device can vary its resistance.
It can be used to adjust the volume or the brightness of a light.
Required Hardware
- Variable resistor (B10K used in this text)
- Arduino UNO
- UNO Cable
- Breadboard
- M-M Cable (3 pieces)
Connection
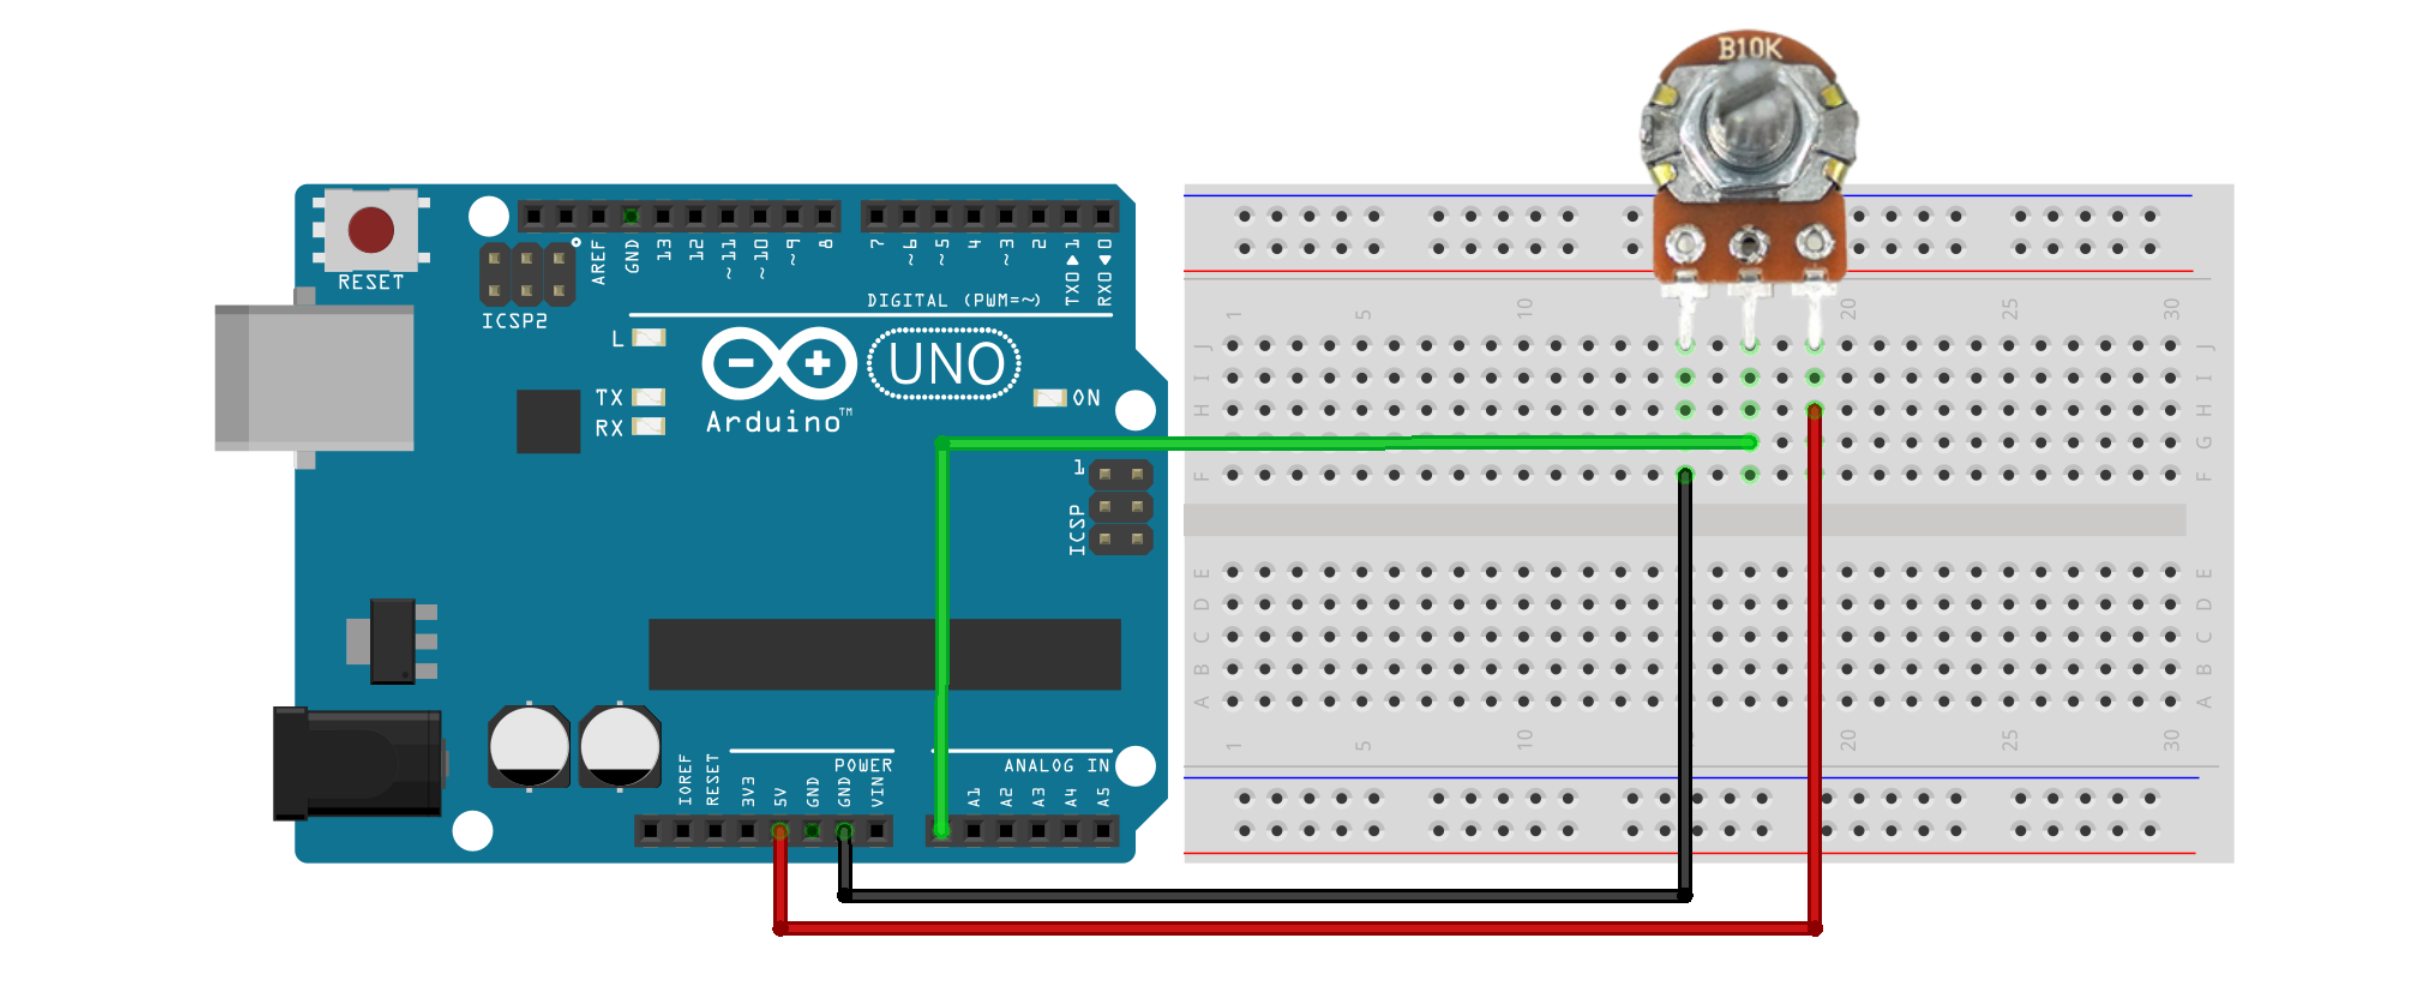
- Power is applied to the left and right, with the output coming from the middle.
- Power is applied to either the left or right, with the opposite terminal connected to GND.
- Connecting as described, turning to the right increases the value, but if connected oppositely (right to GND, left to 5V), turning to the left increases the value.
| Variable Resistor | Arduino UNO |
|---|---|
| Left | GND |
| Middle | A0 |
| Right | 5V |

예제 코드
#define input A0

void setup()
{
  // Start serial communication
  Serial.begin(9600);
  Serial.println("start");
  Serial.println("======================");
}

void loop()
{
  // Display the value of the variable resistor on the serial monitor
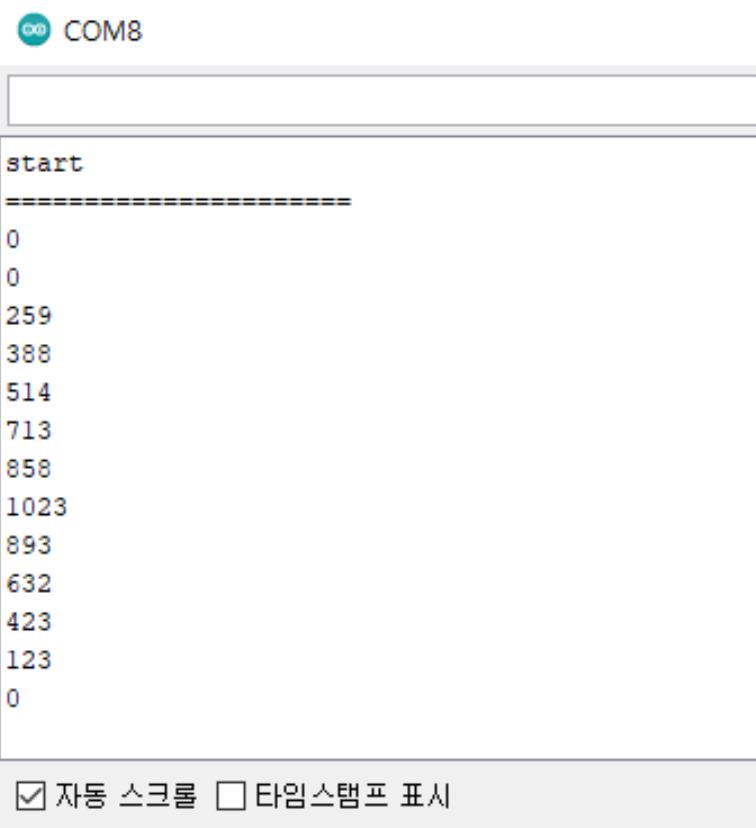
  Serial.println(analogRead(input));
  delay(1000);
}
