SD Card Module

Overview
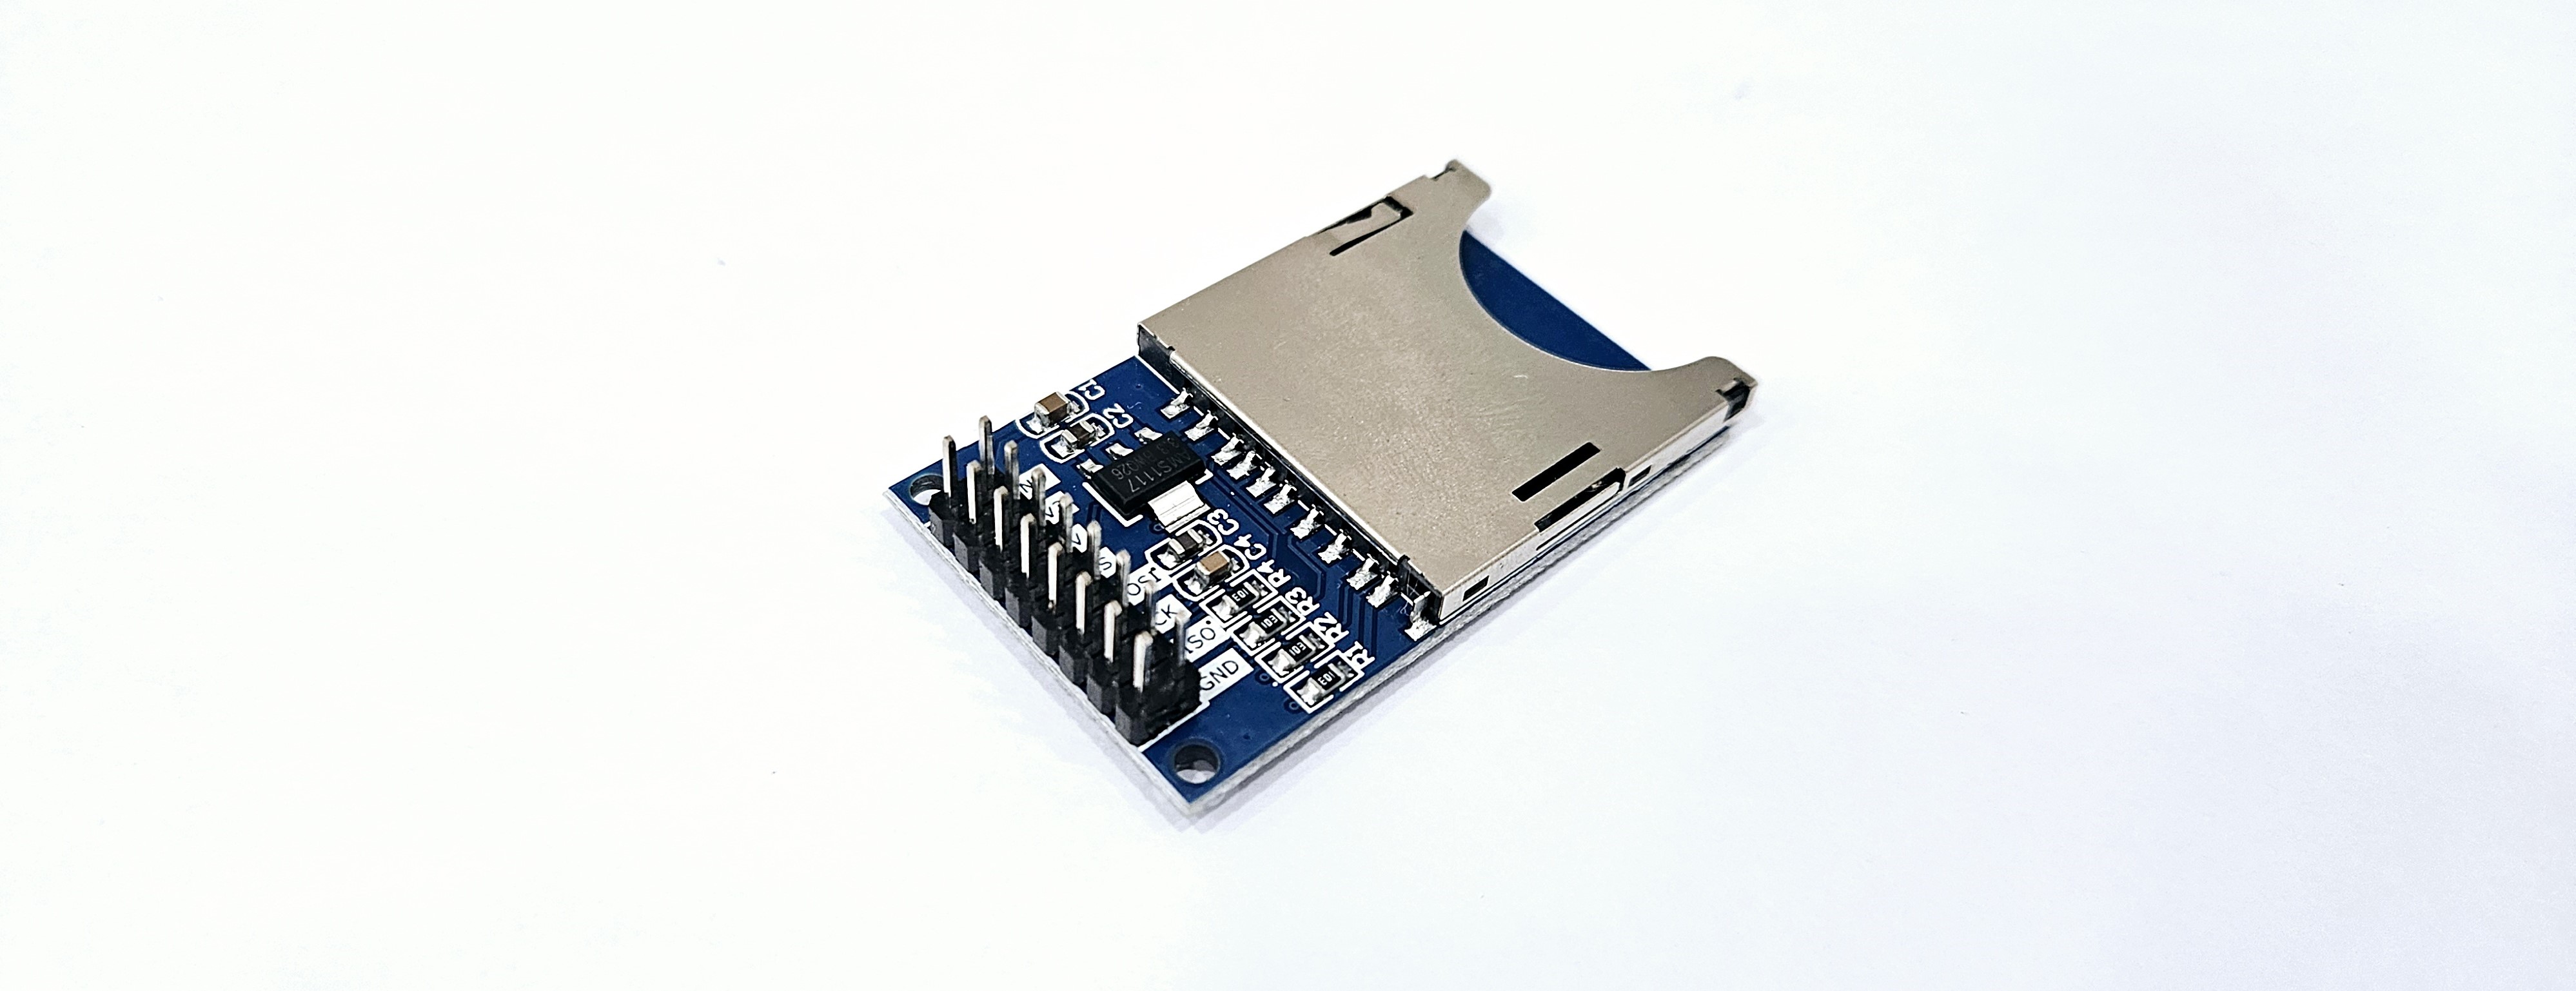
The Arduino SD card module is an interface module compatible with Arduino boards that allows reading from and writing to SD cards. It can be used for various projects for purposes such as data storage, logging, and file management.
Specifications
| List | Explanation |
|---|---|
| Supported Cards | Micro SD card, Micro SDHC card (High-speed card support) |
| Power Level Conversion | Supports interface with 5V and 3.3V systems. |
| Power Supply Range | 4.5V - 5.5V, with an integrated 3.3V regulator circuit |
| Communication Interface | Standard SPI interface. |
| Pin Configuration | GND, VCC, MISO, MOSI, SCK, CS |
| Positioning Hole | 4 M2 screw positioning holes (diameter 2.2mm) |
Application Examples
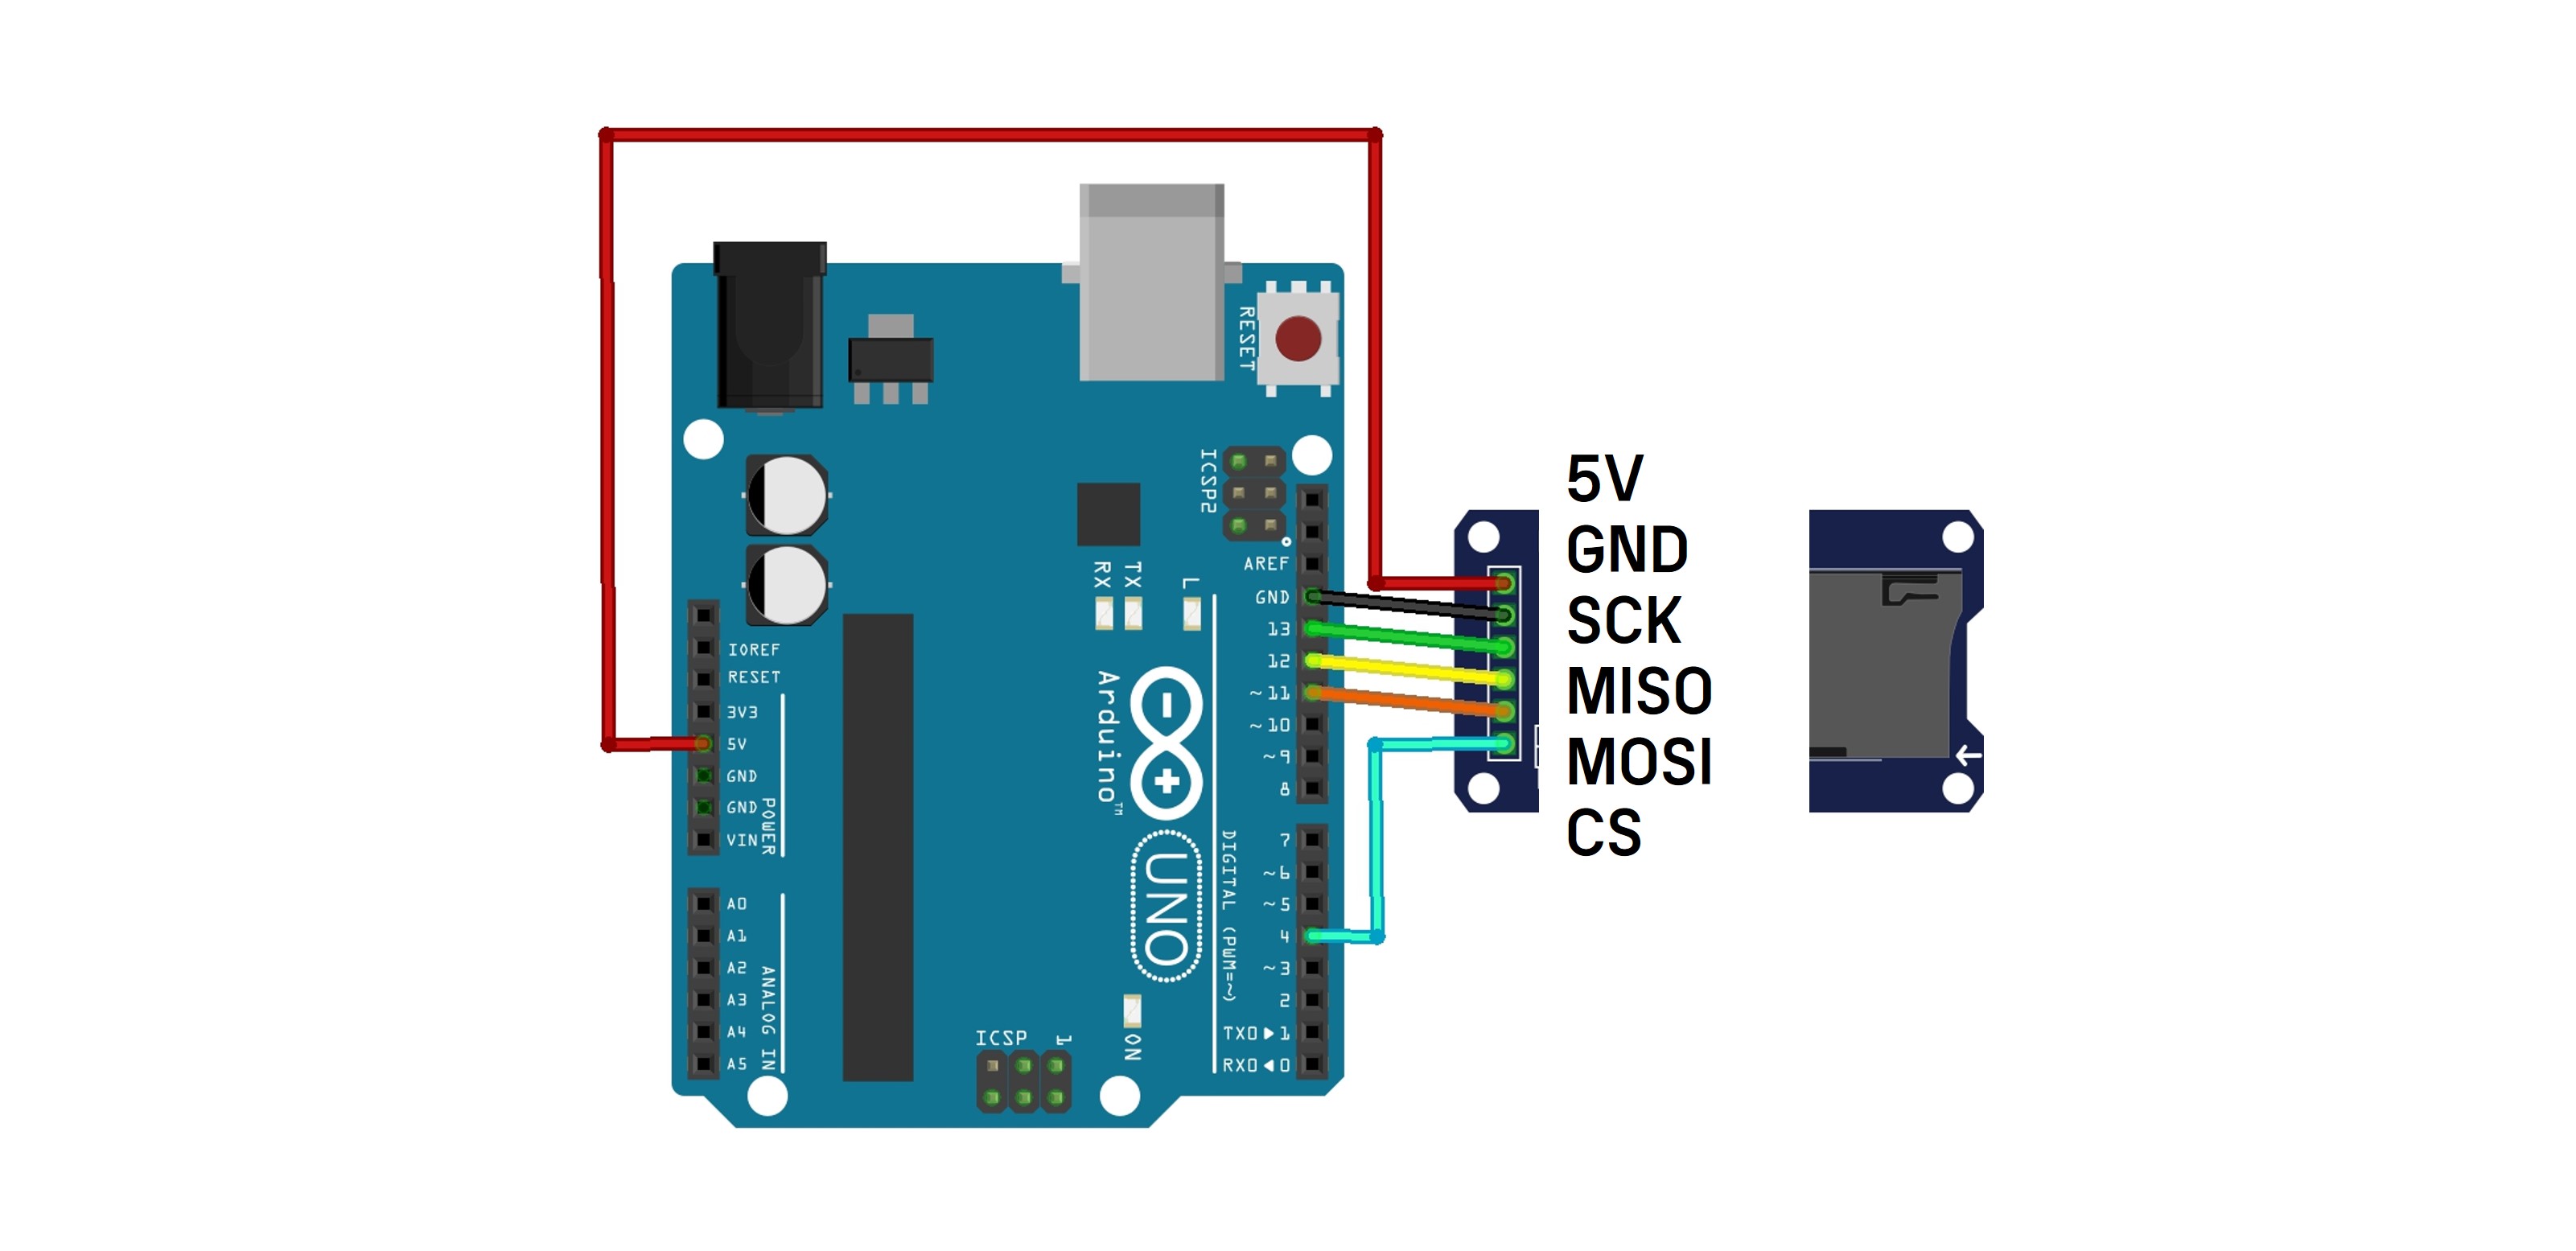
Circuit Configuration
| Arduino | SD Card Module |
|---|---|
| 4 | CS |
| 11 | MOSI |
| 12 | MISO |
| 13 | SCK |
| GND | GND |
| 5V or 3.3V | VCC |

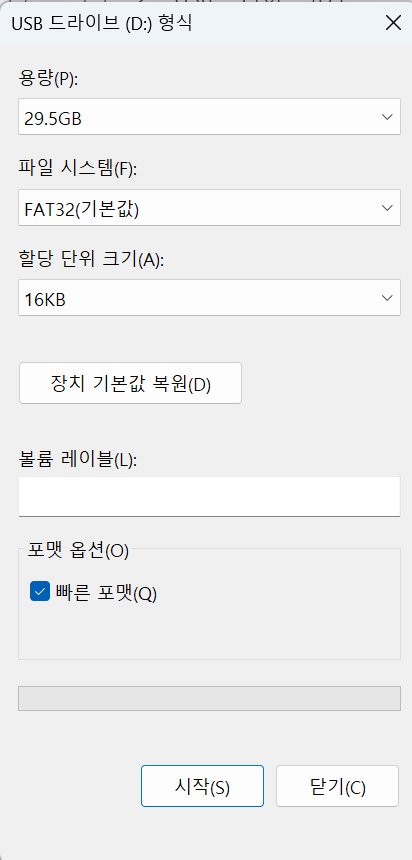
SD Card Format
In this example, we format the SD card to start with a clean state.
Connect the SD card reader to your PC and right-click the folder to format it.
(※ This is not mandatory! Always back up important data on the SD card.)
1. Writing to the SD Card
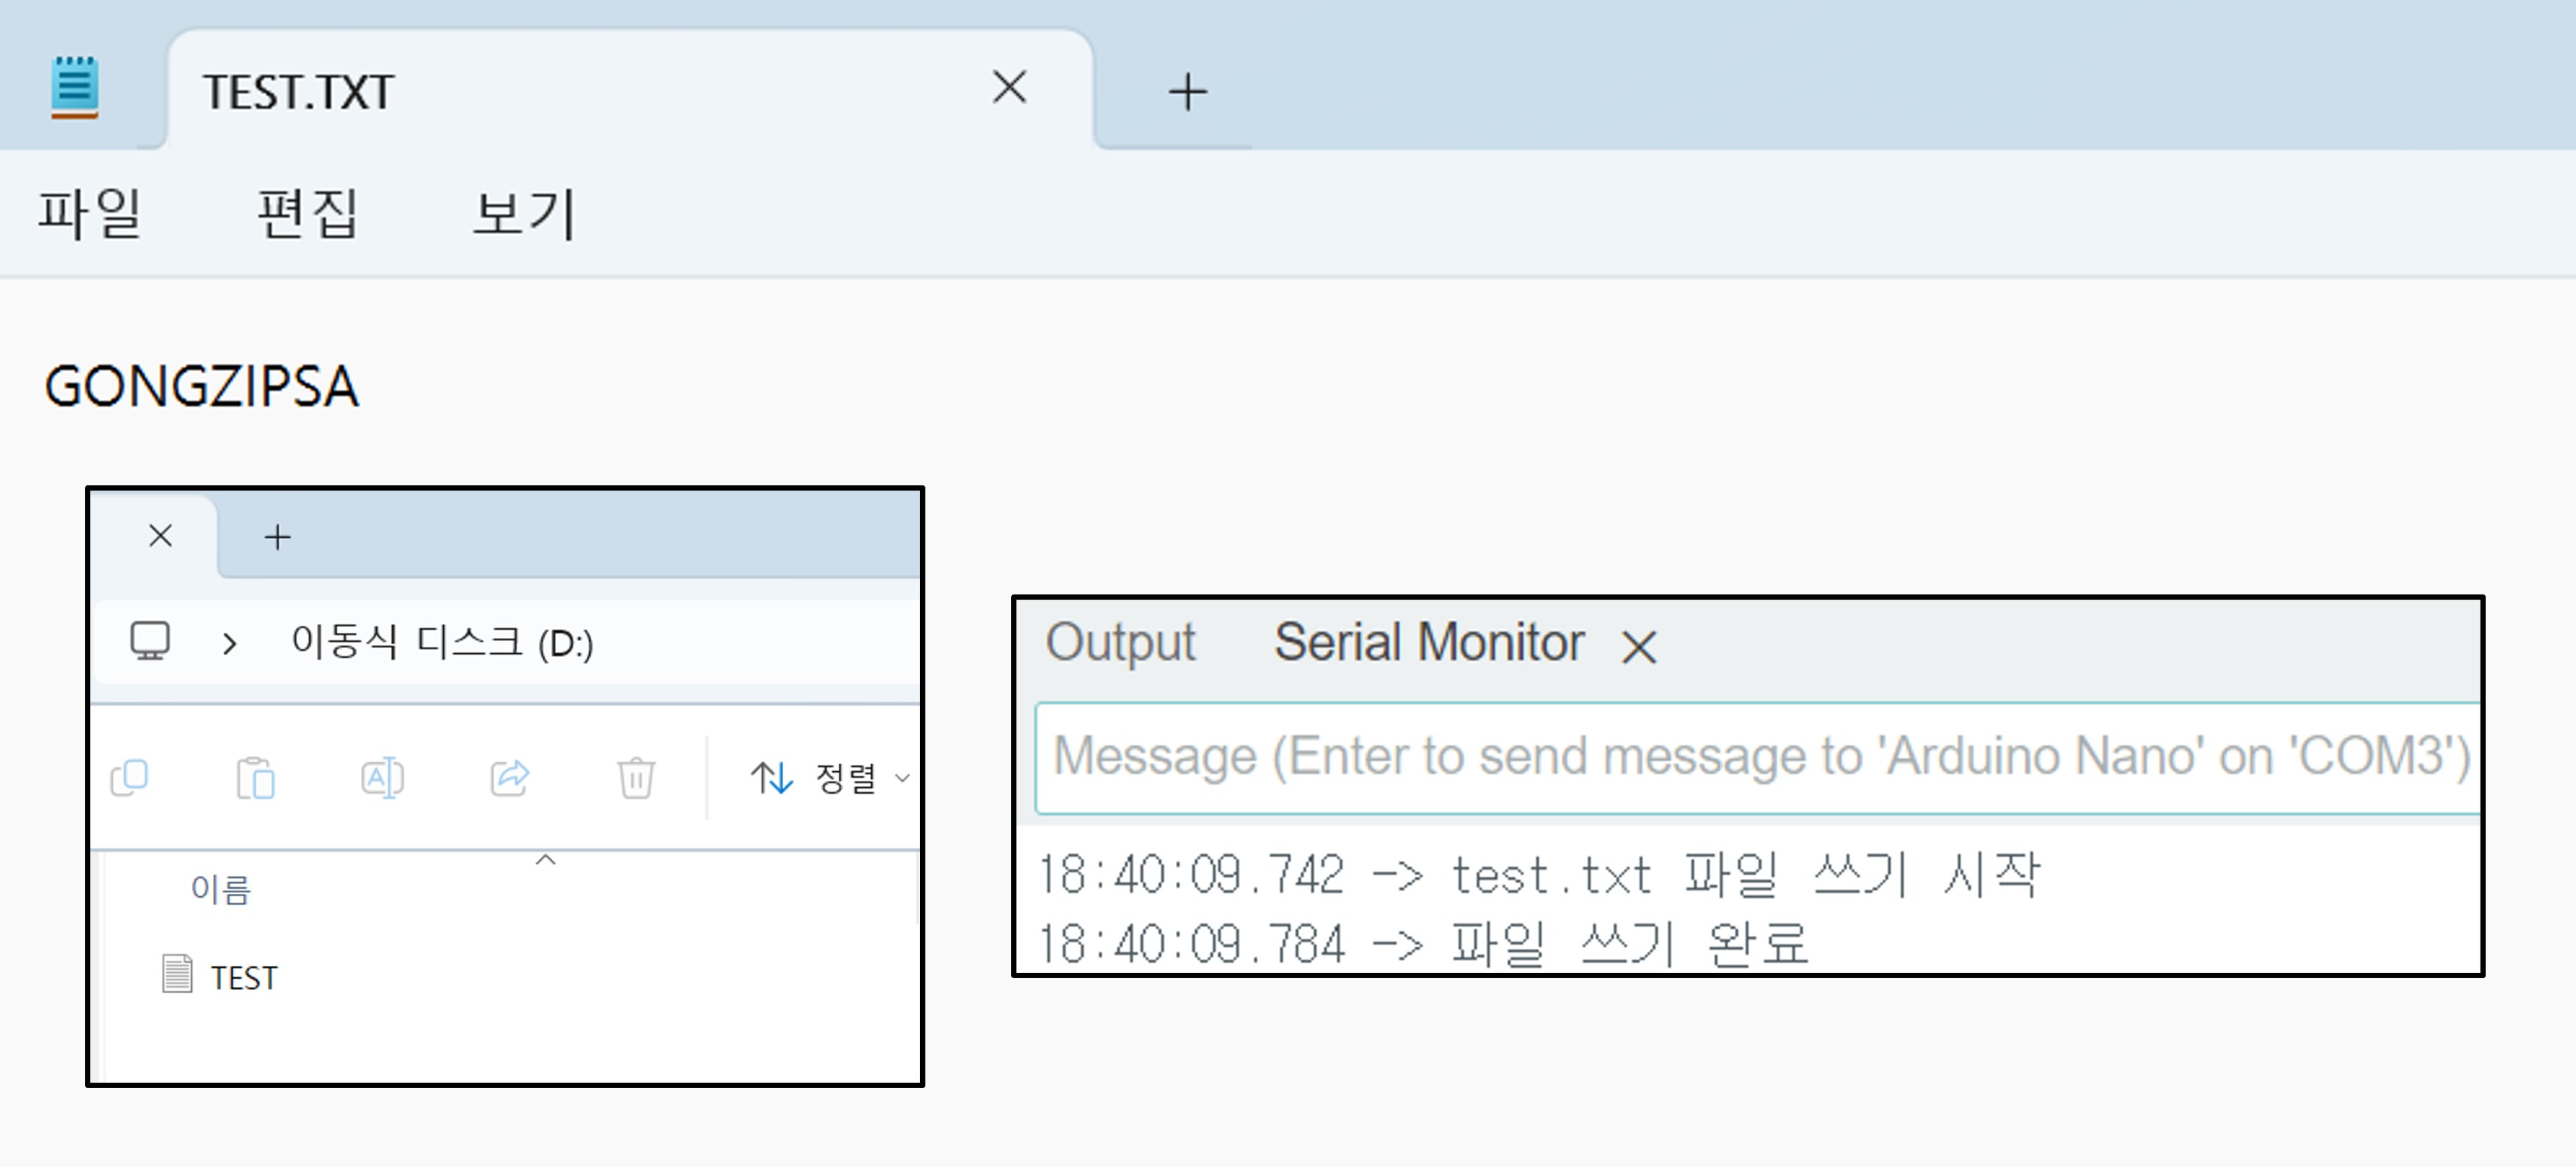
This is an example of writing the phrase "GONGZIPSA" to the SD card. A text file will be created inside.
#include <SD.h>

File myFile;

void setup() {
  Serial.begin(9600);

  // Initialize SD card
  if (!SD.begin(4)) {
    Serial.println("SD card initialization failed");
    return;
  }

  // File writing
  myFile = SD.open("test.txt", FILE_WRITE);

  if (myFile) {
    Serial.println("test.txt File writing start");
    myFile.println("GONGZIPSA");
    myFile.close();
    Serial.println("File writing completed");
  } else {
    Serial.println("File writing failed");
  }
}

void loop() {
}
In addition to FILE_WRITE on line 15, there is also a READ mode.
| Mode | Explanation |
|---|---|
FILE_READ
|
The file is opened in read-only mode. It cannot be written to. If the file does not exist, it cannot be opened. |
FILE_WRITE
|
The file is opened in write mode. If the file does not exist, it will be created. If an existing file is present, data will be appended to the end of the file. The existing content will not be overwritten. |
Execution Result

2. Reading Files from SD Card
This is an example of reading files from the SD card and outputting them to the serial monitor.
#include <SD.h>

File myFile;

void setup() {
  Serial.begin(9600);

  // Initialize SD card
  if (!SD.begin(4)) {
    Serial.println("SD card initialization failed");
    return;
  }

  // File Reading
  myFile = SD.open("test.txt");

  if (myFile) {
    Serial.println("test.txt File reading start");
    while (myFile.available()) {
      Serial.write(myFile.read());
    }
    myFile.close();
    Serial.println("File reading completed");
  } else {
    Serial.println("File reading failed");
  }
}

void loop() {
}
Execution Result

3. Checking the List of Files on the SD Card
This is an example of outputting the list of files on the SD card to the serial monitor.
#include <SD.h>

void setup() {
  Serial.begin(9600);

  // Initialize SD card
  if (!SD.begin(4)) {
    Serial.println("SD card initialization failed");
    return;
  }

  Serial.println("File list:");
  listFiles(SD.open("/"));
}

void loop() {
}

void listFiles(File dir) {
  while (true) {
    File entry = dir.openNextFile();
    if (!entry) {
      break; // No more files left
    }
    Serial.print(entry.name());
    if (entry.isDirectory()) {
      Serial.println(" [directory]");
      listFiles(entry); // Recursively output files within the directory
    } else {
      Serial.print(" [File size: ");
      Serial.print(entry.size());
      Serial.println(" bytes]");
    }
    entry.close();
  }
}
Execution Result

4. Logging Sensor Data
This is an example of recording data from the Soil Moisture Sensor(YL-69) every 3 seconds and saving it to the SD card.
#include <SPI.h>
#include <SD.h>

void setup() {
  Serial.begin(9600);

  // Initialize SD card
  if (!SD.begin(4)) {
    Serial.println("SD card initialization failed");
    return;
  }

  // Initialize YL-69 Sensor (Set analogpin)
  pinMode(A0, INPUT);
}

void loop() {
  // Reading data from the YL-69 sensor
  int moistureLevel = analogRead(A0);

  // Open the moisture.txt file in FILE_WRITE mode
  File myFile = SD.open("moisture.txt", FILE_WRITE);

  if (myFile) {
    // Write sensor data to the file
    myFile.print("Moisture Level: ");
    myFile.println(moistureLevel); // Append data to the file
    myFile.close(); // Close the file
    Serial.println("Data recording completed");
  } else {
    Serial.println("File write failed");
  }

  delay(3000); // Record data every 3 seconds
}
Execution Result
The serial monitor displays "Data recording completed," and when you connect the SD card to the PC, you will find the previously created TEXT.txt file along with the newly recorded MOISTURE.txt file. You can confirm that the MOISTURE.txt file contains data from the soil moisture sensor (YL-69).

