Potentiometer: 두 판 사이의 차이
(Created page with "{{#seo:|title=아두위키 : 아두이노 가변 저항(Potentiometer) 가이드|title_mode=append|keywords=아두이노, 정보과학, 메이커학습, 수행평가, 가변 저항(Potentiometer), 아두이노 작품, 캡스톤작품, 아두이노 예제코드|description=아두이노로 가변 저항(Potentiometer)를 활용하는 방법(기본정보, 회로, 예제 코드)을 소개합니다. 정보과학과 메이커수업에 활용가능합니다.}} 파일:가변...") |
편집 요약 없음 |
||
| 1번째 줄: | 1번째 줄: | ||
[[File:가변저항b10k.jpg|center|class=coders100]] | |||
[[ | |||
This device can vary its resistance. | This device can vary its resistance. | ||
| 33번째 줄: | 34번째 줄: | ||
|5V | |5V | ||
|} | |} | ||
[[ | [[File:가변저항 회로.png|center|class=coders100]] | ||
== '''예제 코드''' == | == '''예제 코드''' == | ||
| 55번째 줄: | 56번째 줄: | ||
</syntaxhighlight> | </syntaxhighlight> | ||
[[ | [[File:가변저항 테스트.png|center|class=coders50]] | ||
2024년 3월 23일 (토) 16:32 판

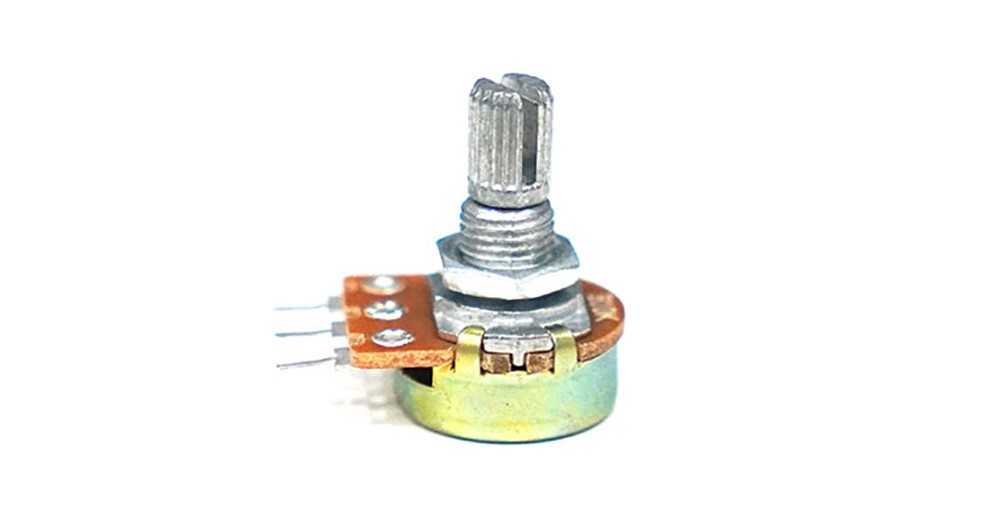
This device can vary its resistance.
It can be used to adjust the volume or the brightness of a light.
Required Hardware
- Variable resistor (B10K used in this text)
- Arduino UNO
- UNO Cable
- Breadboard
- M-M Cable (3 pieces)
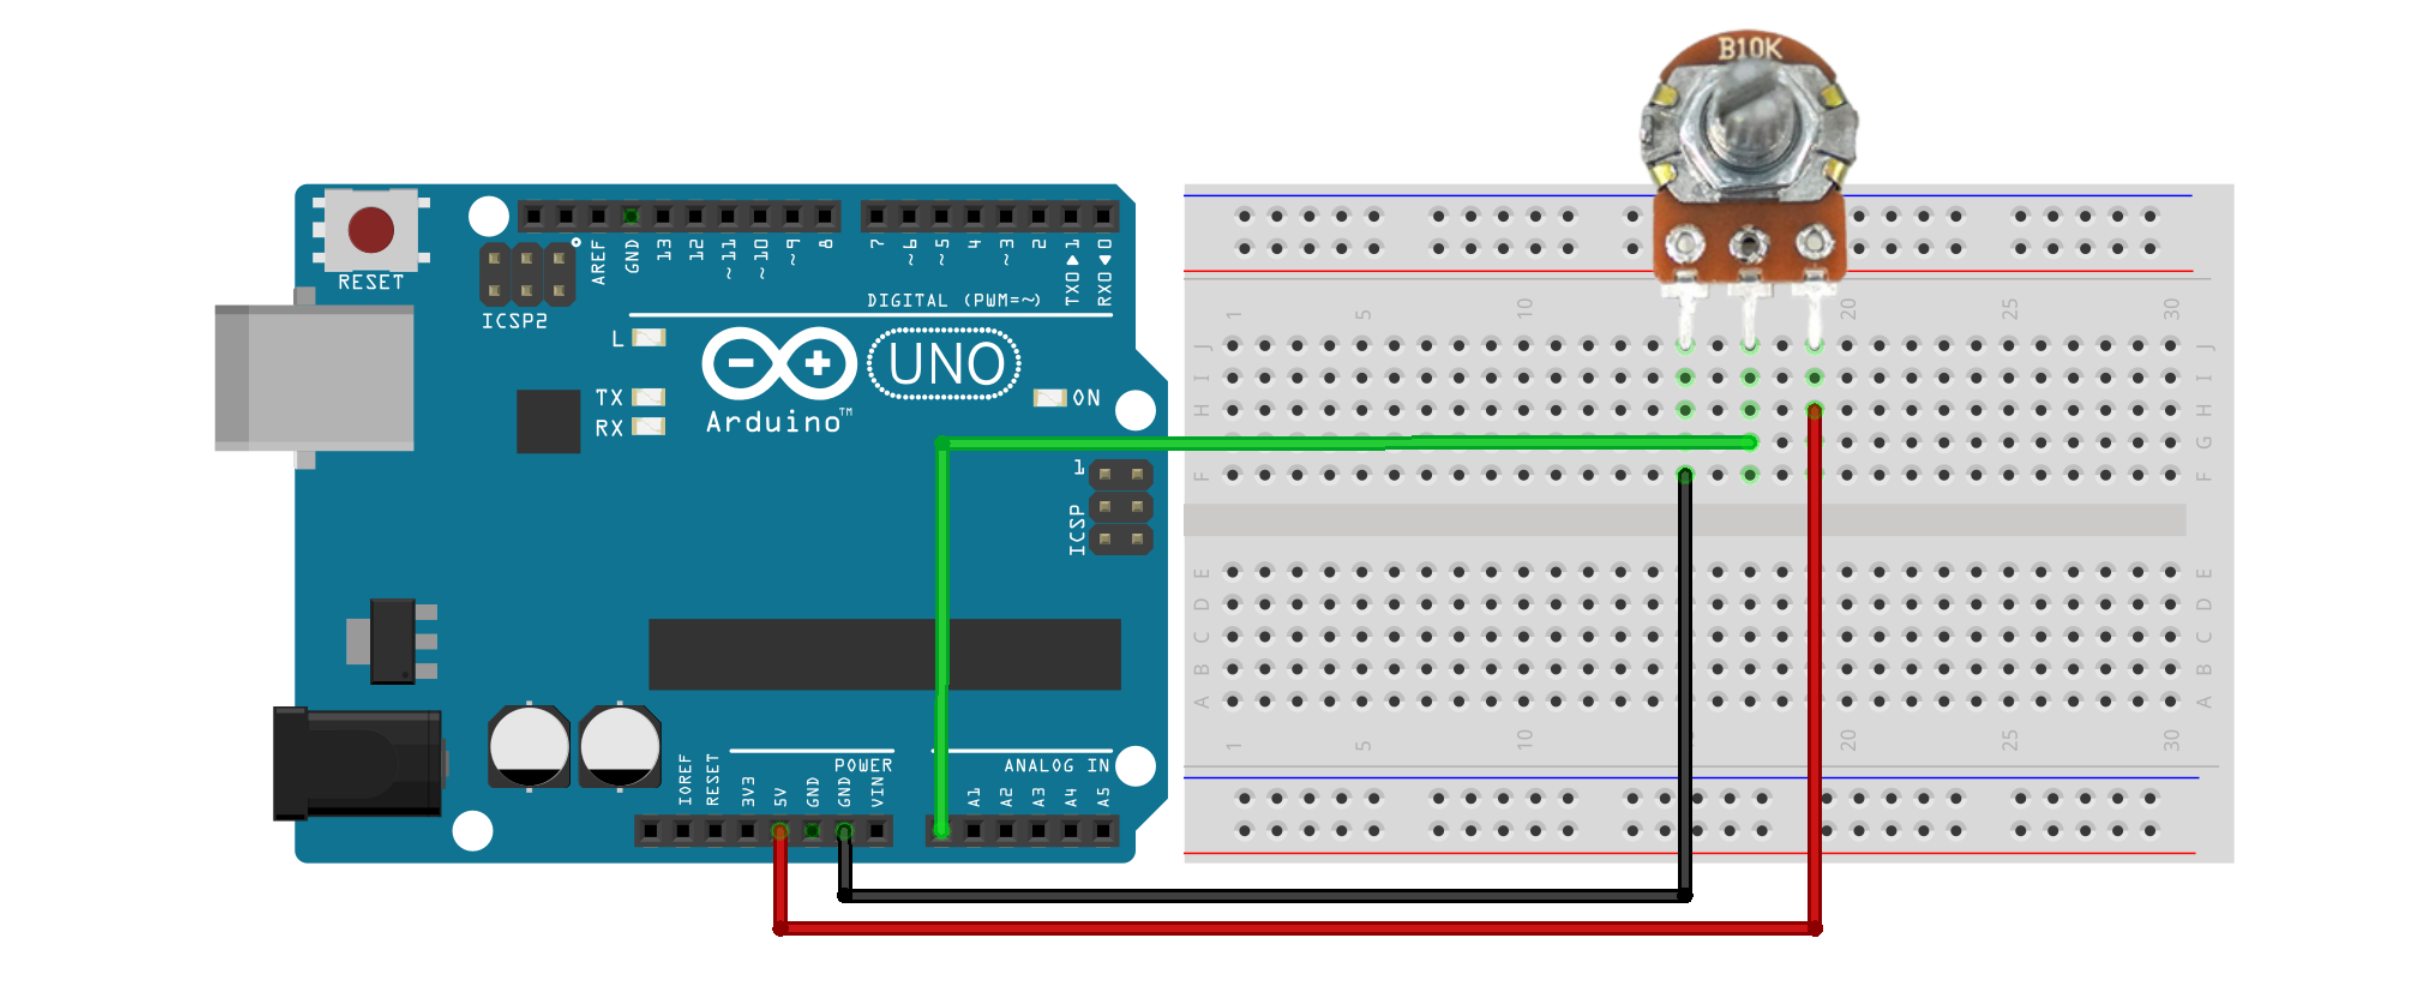
Connection
- Power is applied to the left and right, with the output coming from the middle.
- Power is applied to either the left or right, with the opposite terminal connected to GND.
- Connecting as described, turning to the right increases the value, but if connected oppositely (right to GND, left to 5V), turning to the left increases the value.
| Variable Resistor | Arduino UNO |
|---|---|
| Left | GND |
| Middle | A0 |
| Right | 5V |

예제 코드
#define input A0

void setup()
{
  // Start serial communication
  Serial.begin(9600);
  Serial.println("start");
  Serial.println("======================");
}

void loop()
{
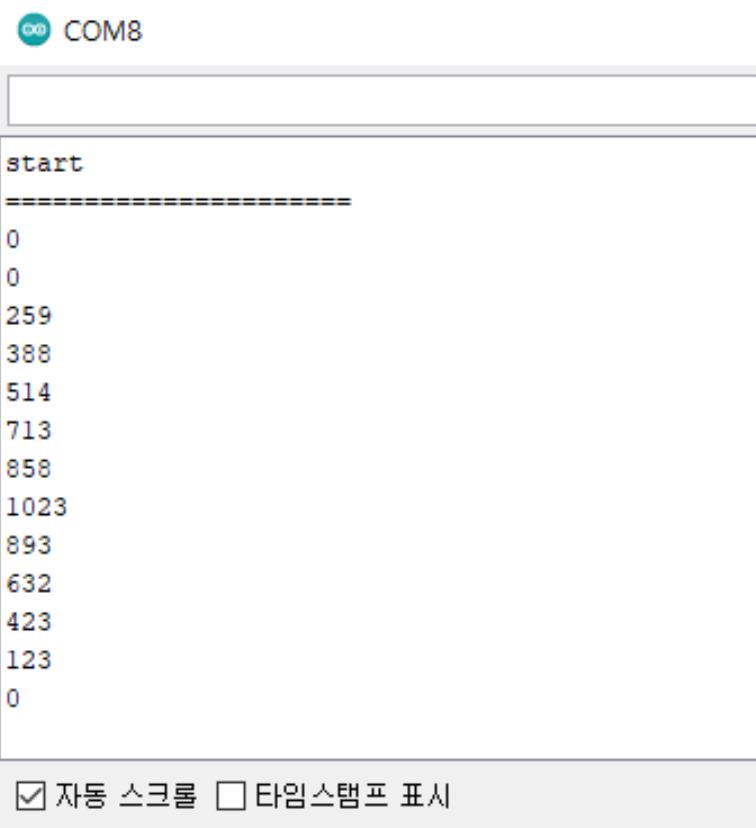
  // Display the value of the variable resistor on the serial monitor
  Serial.println(analogRead(input));
  delay(1000);
}
